While we are waiting for Microsoft to fix all the issues (and there are many) with license reports in Lifecycle Services (LCS), D365F&O itself, and Power Platform admin center (PPAC), I decided to write a blog post on D365FO License Management with Powershell. But first, let me show you the current issue that I have.
D365F&O License Enforcement
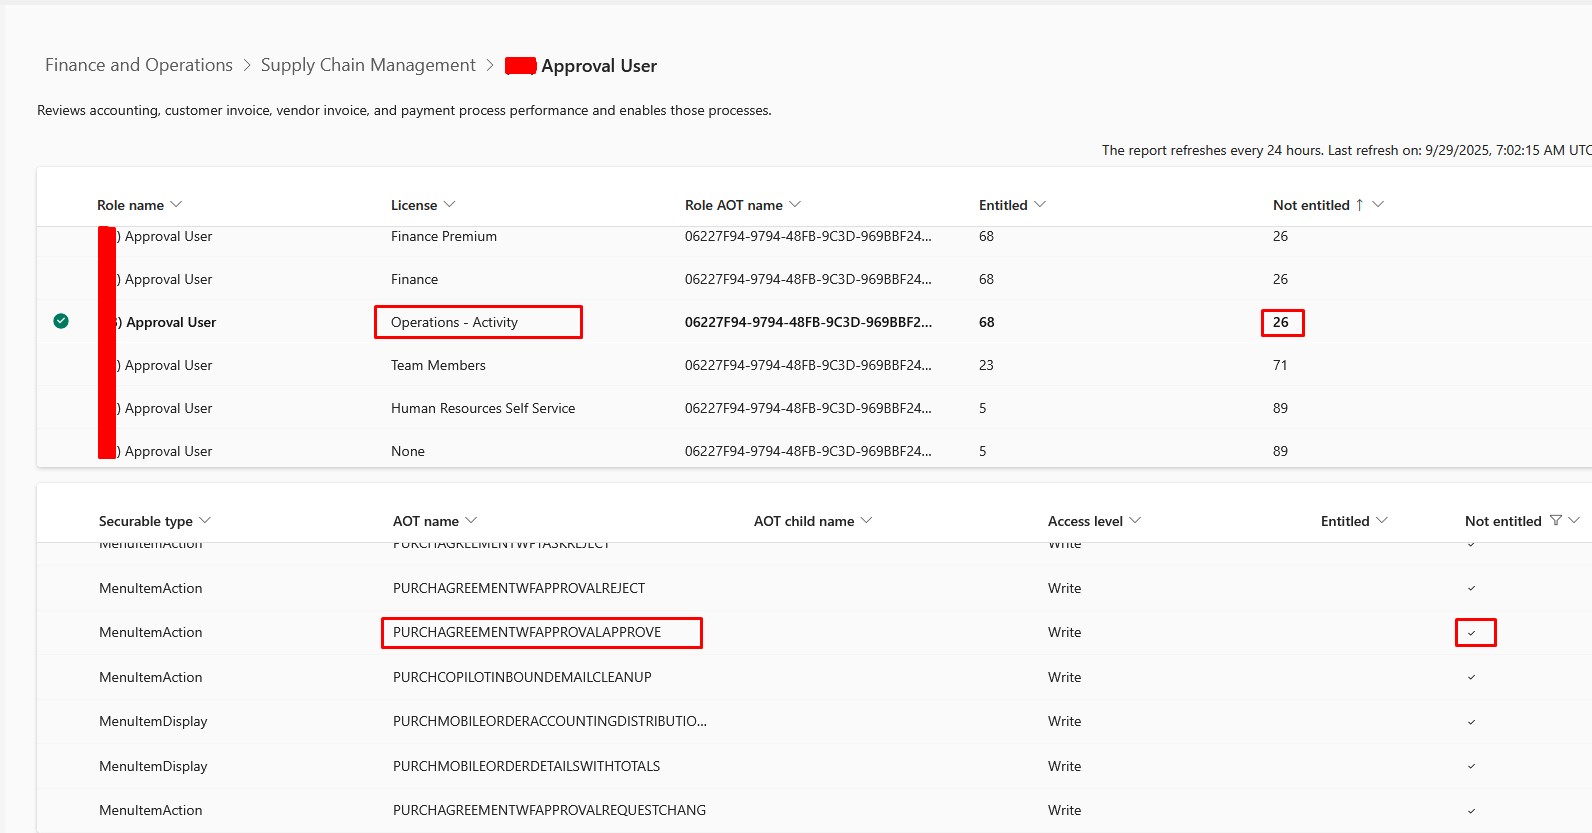
Microsoft claims that they are implementing license enforcement in D365F&O to improve transparency for customers, but the problem is that their current license reports are far from transparent. The last situation I have is with a role that approves Purchase Agreements.
We have some objects that are triggering Activity license (if you check them in VS), so they should be triggering the same license when we check LCS/D365FO/PPAC…but they are not. They are displayed as SCM license, which is not correct. Purchase Agreement Approvals have been treated as activity before, and PPAC report now shows that we need a full license to approve purchase agreements:
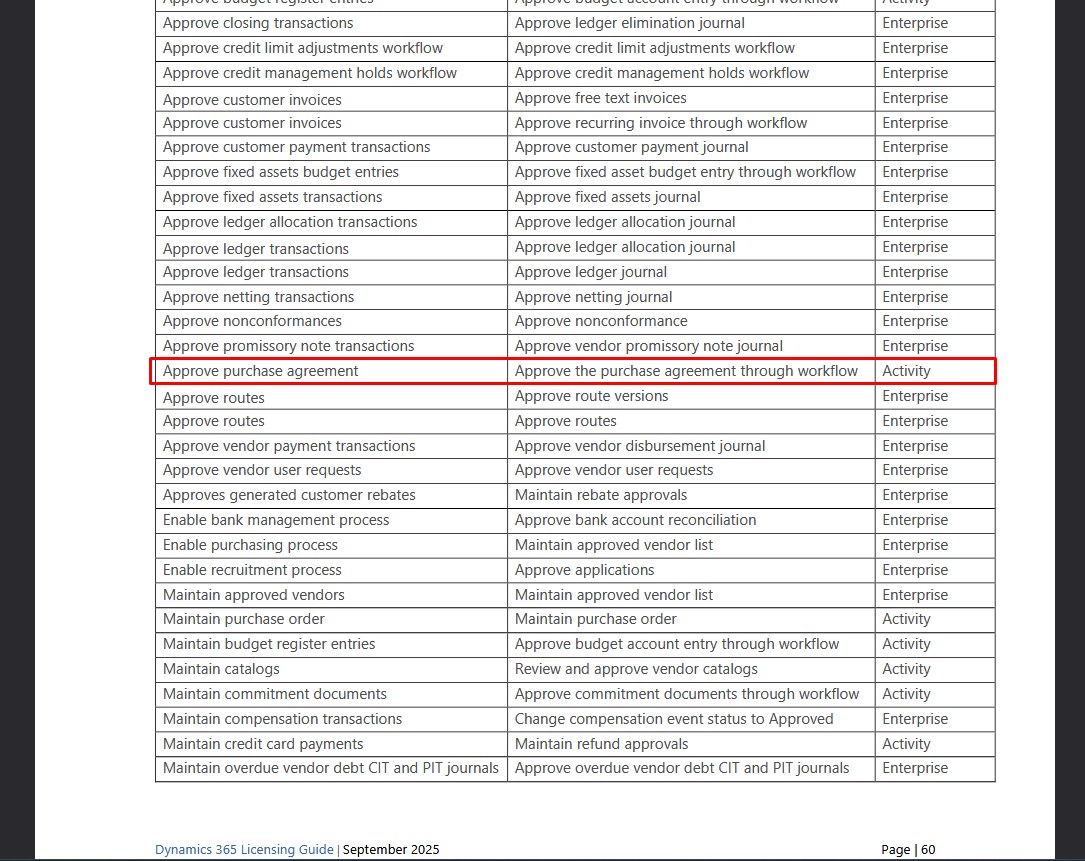
I am aware that Microsoft doesn’t use menu item properties and objects in the new calculation logic. But if we also check the latest Dynamics 365 licensing guide from September 2025, you will also see that approving purchase agreements should trigger the activity license:
But let’s continue with our primary topic.
D365FO License Management with PowerShell
The Microsoft 365 License Management script is a powerful PowerShell tool that simplifies license administration for Microsoft 365 and Dynamics 365. The latest version adds full Entra ID group management support, enabling you to assign and control licenses at both the user and group level with ease.
I couldn’t find any official place where you can download the script, so ask Microsoft support or your ERP partners if they can provide it.
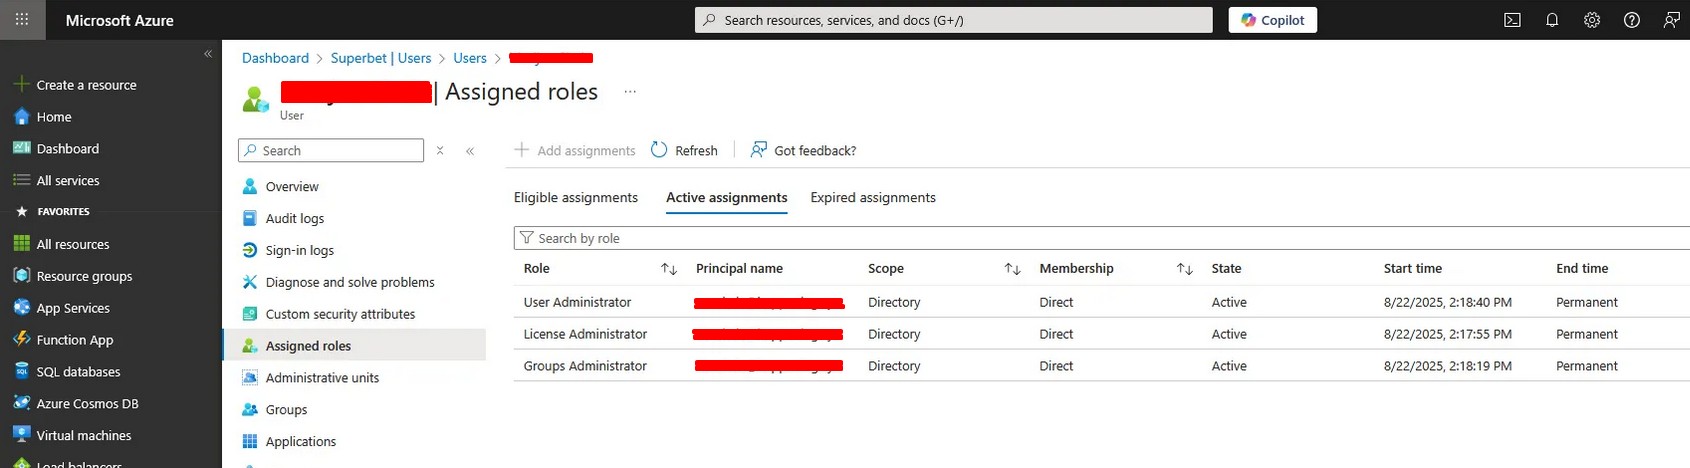
To assign licenses via PowerShell or Microsoft Admin center, you must have an account with one of the following Azure Entra ID roles:
- Global Administrator
- License Administrator
- User Administrator
- Groups Administrator (for group operations)
- Custom role with appropriate license and group management permissions
I have a separate admin user for assigning licenses. Here is what it looks like in Azure:
The script requires the following Microsoft Graph API permissions:
- User.ReadWrite.All – Read and write user information
- Directory.ReadWrite.All – Read and write directory data
- Organization.Read.All – Read organization information
- Group.Read.All – Read all group information
- GroupMember.Read.All – Read group memberships
Installation
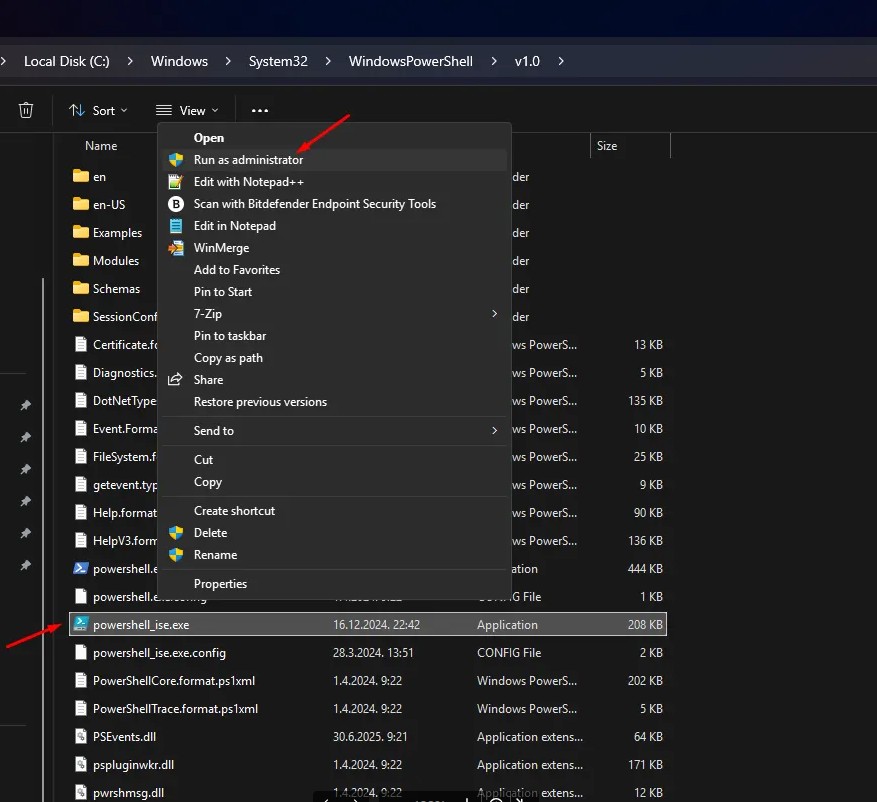
Run PowerShell ISE as administrator:
Next step is to install Microsoft Graph PowerShell SDK modules:
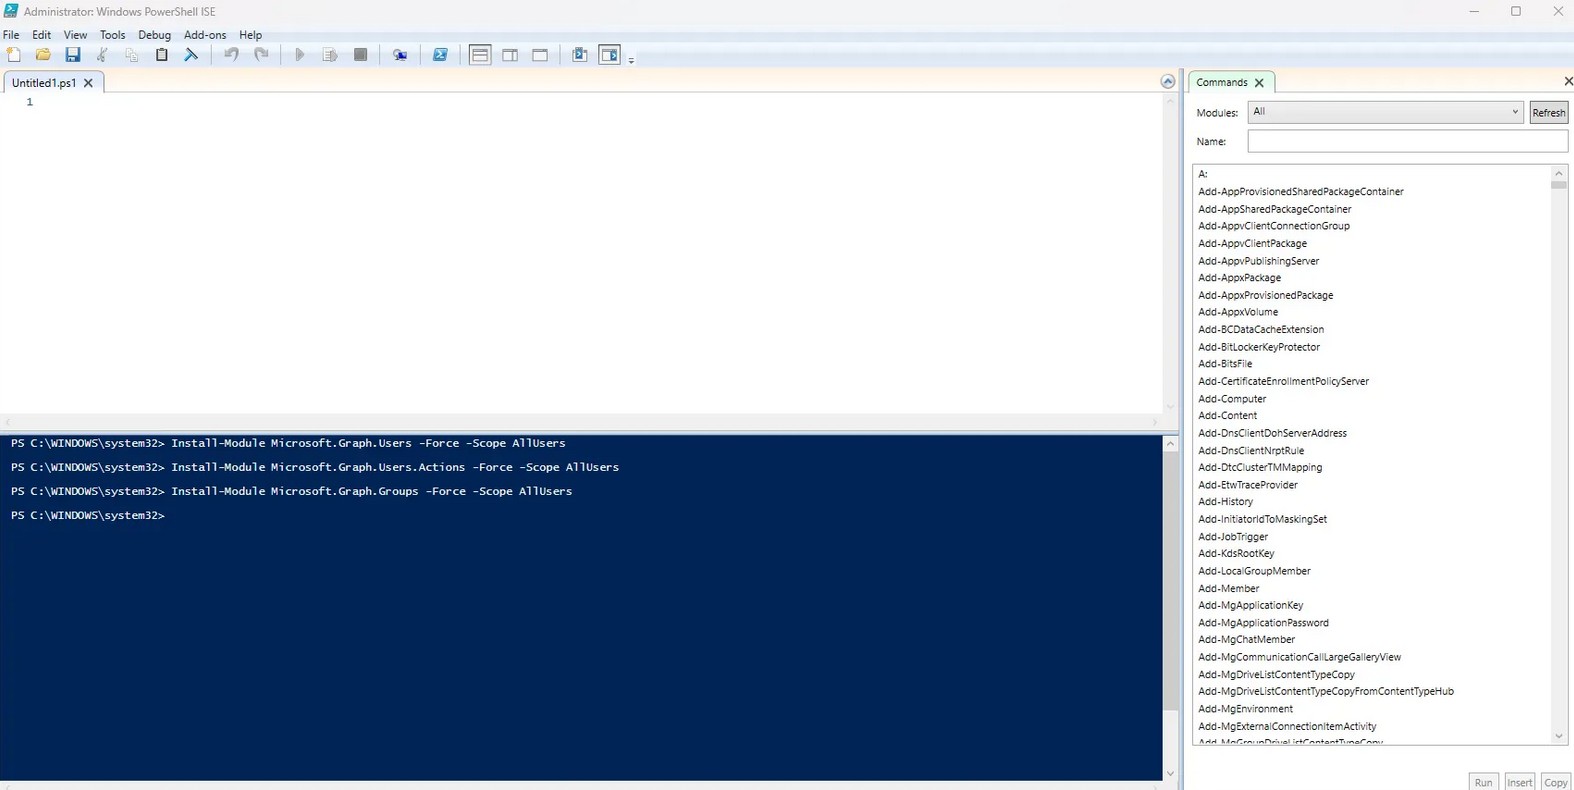
- Install-Module Microsoft.Graph.Users -Force -Scope AllUsers
- Install-Module Microsoft.Graph.Users.Actions -Force -Scope AllUsers
- Install-Module Microsoft.Graph.Groups -Force -Scope AllUsers
As you can see above, I am installing the modules for all users, since I have my main account and a separate account for D365F&O license assignment using PowerShell.
Here is what it looks like in PowerShell:
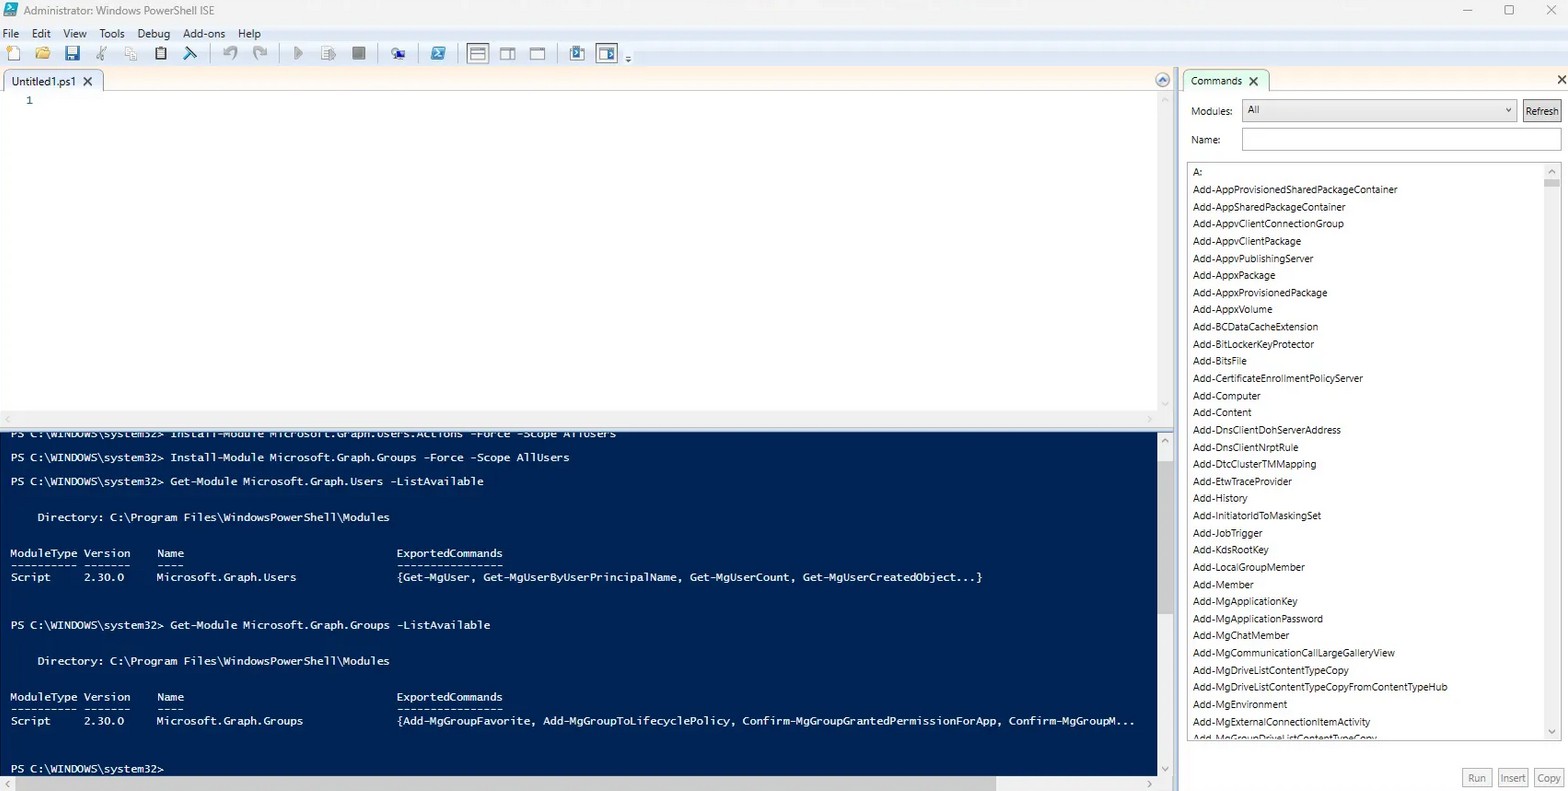
You can use the following commands to verify the installation:
- Get-Module Microsoft.Graph.Users -ListAvailable
- Get-Module Microsoft.Graph.Groups -ListAvailable
This is what it looks like if everything is OK:
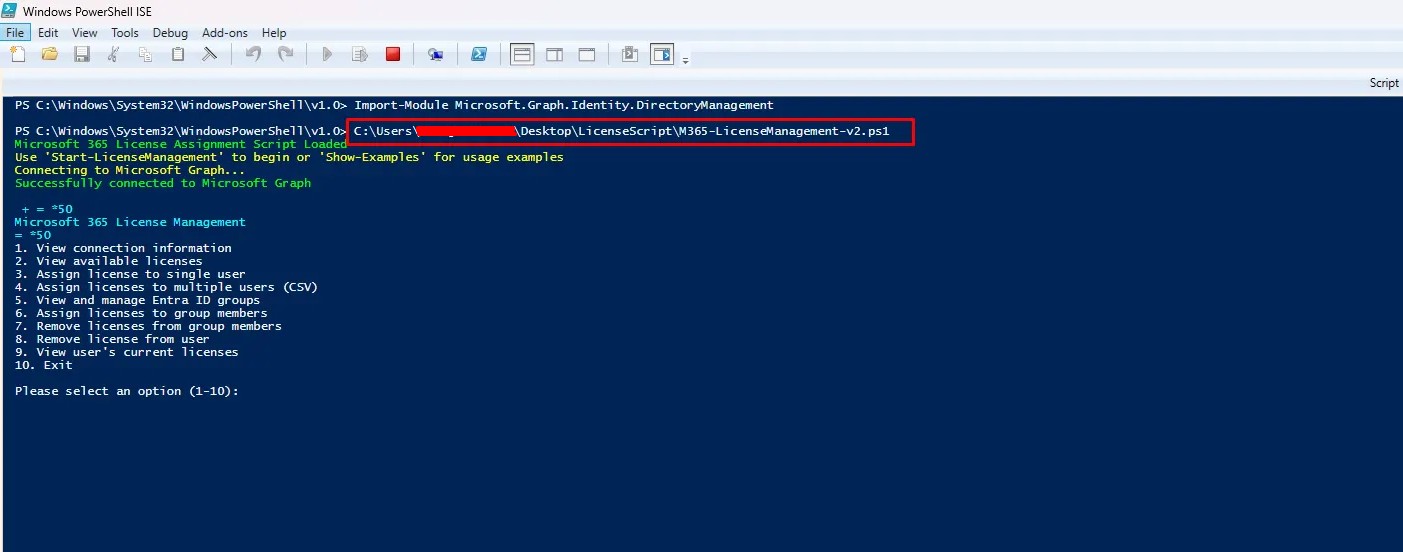
Using the M365-LicenseManagement-v2.ps1 script
Next step is to run the PowerShell ISE as admin user for license management using SHIFT + Right Click. If admin user for license is different than your default user account, you can use the following option:
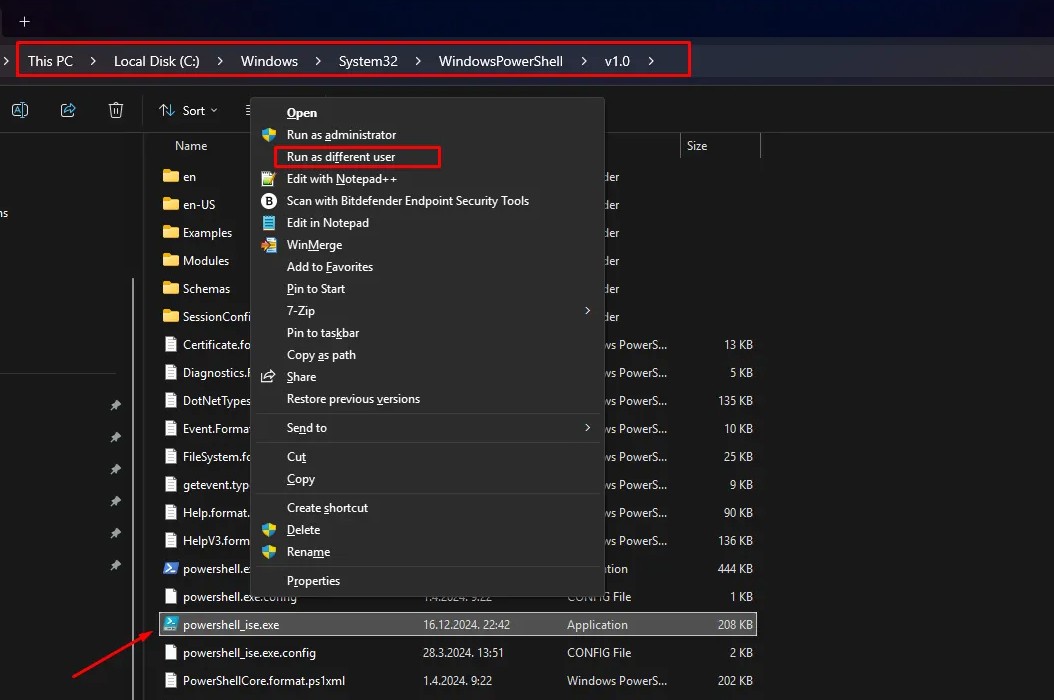
Otherwise, you can can use Run as administrator option, and run PowerShell with your default account.
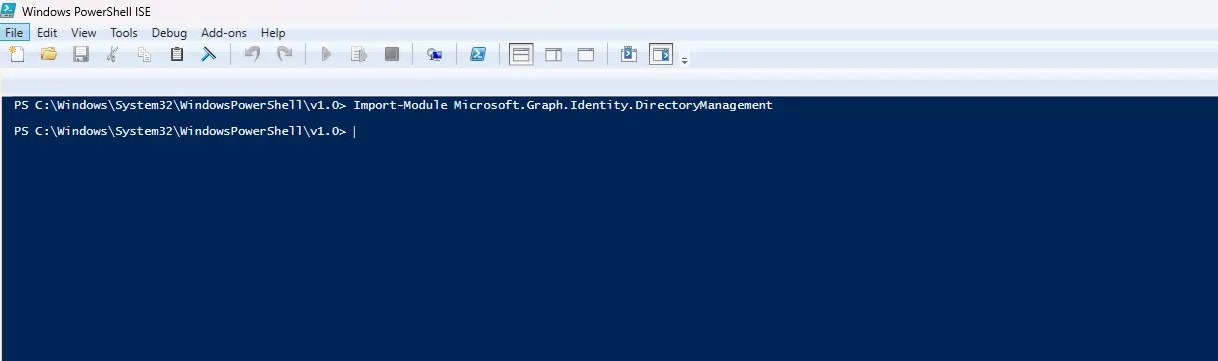
Import the following module:
- Import-Module Microsoft.Graph.Identity.DirectoryManagement
Run the PowerShell script from the location where you saved it:
From there, you can assign license to a single user (option 3), or assign it to multiple users by importing CSV file (option 4).
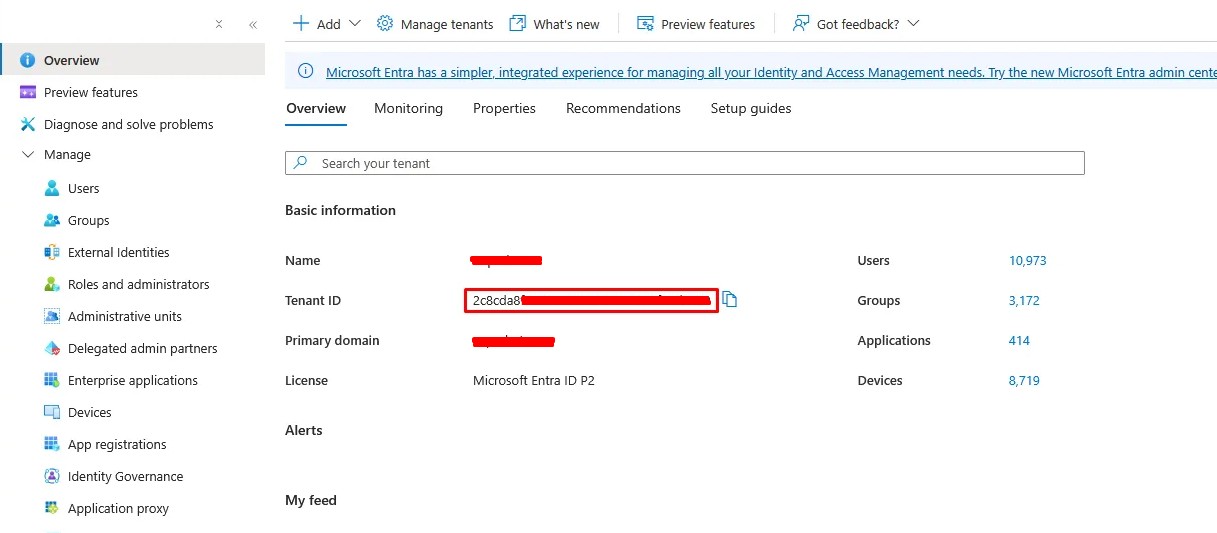
But first, use the option 1 to make sure you are working in the right tenant:
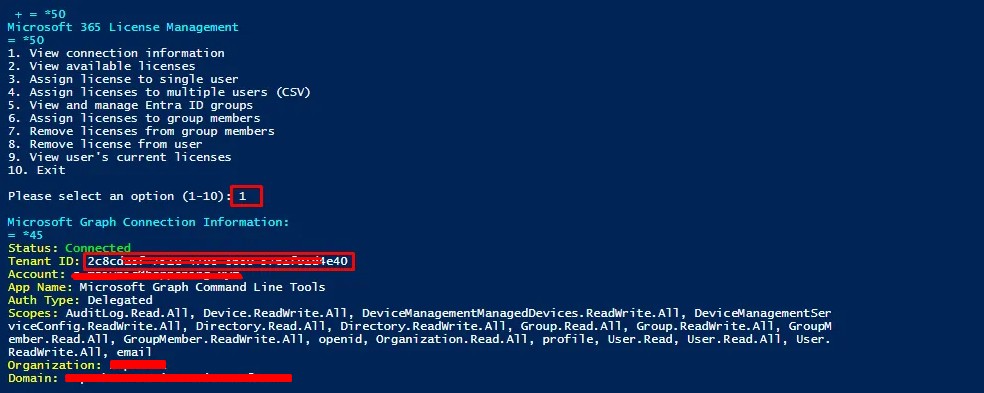
Compare that to Tenant ID in Azure:
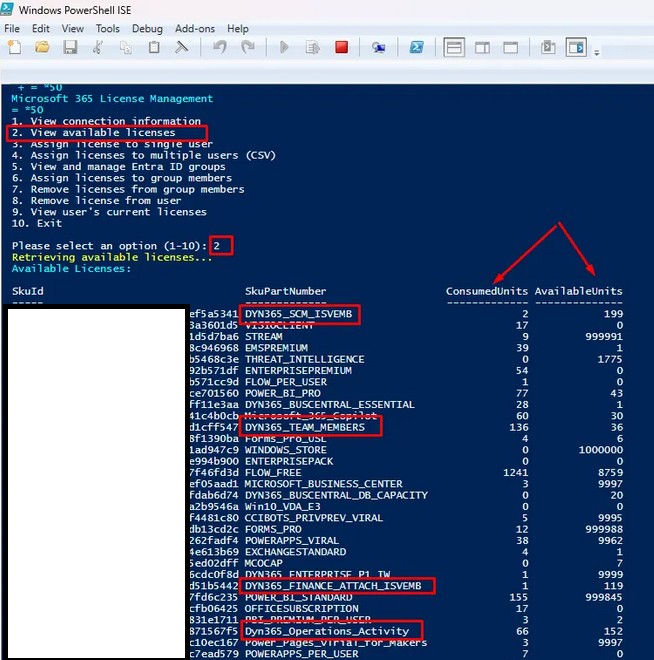
Then, choose the option 2, to see the available licenses. We will need SkuId of the license to assign it properly to user(s). You can see the SkuId of each license on the left side of the screen:
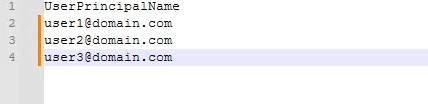
Importing CSV and assigning licenses
If you want to assign licenses for multiple users, you should first create the CSV file that contains a list of users. The CSV file should contain one column called UserPrincipalName, and e-mail addresses of users for which we have to assign the licenses:
- Format: Standard CSV with comma delimiters
- Encoding: UTF-8 recommended
- File Extension: .csv
Choose the option 4 to import CSV file:
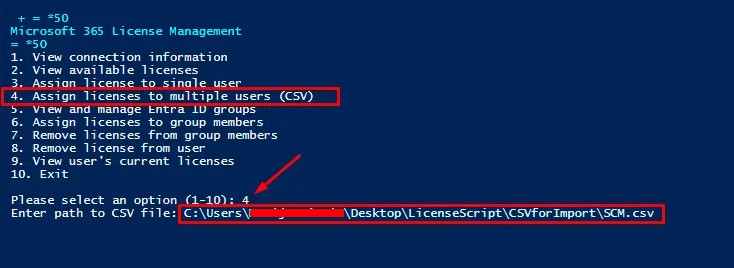
Enter the SKU of the license that you want to assign to users from CSV, and press enter to skip disabled plan IDs:
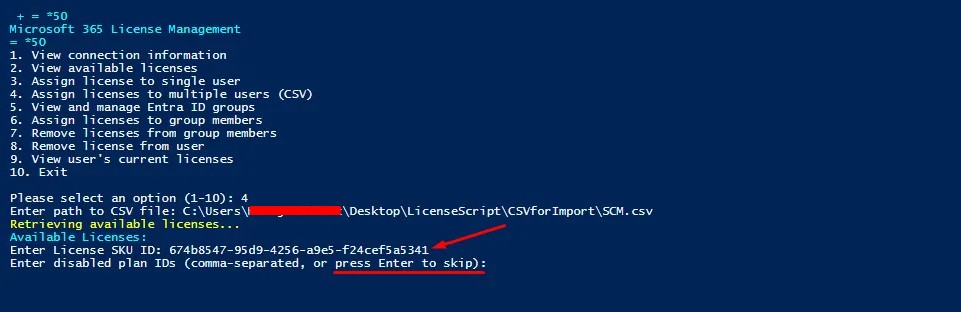
The script will assign licenses to users:

After some time, you will see the licenses assigned in PPAC. If the user already has the license, you will get the following warning: User some.user@domain.com already has this license assigned.
If you want to find out more about D365F&O license enforcement, make sure you visit Microsoft’s official page on the topic. You can learn even more if you check security topics on Dynamicspedia blog.